Introduction
Early 2019 I noticed the Magic Mirror project. To me the way of how woodworking and technology come together really got me. I just had to build one from scratch, ofcourse. It was a great opportunity for me to build something physical and learn a few things about some fancy new JavaScript frontend framework. I decided to call it the mirrorm8 project. I never wrote about it until now.
Like with many ideas, our inspiration and creativity give birth to others. But as we slowly come back to earth, we realize that with the little time we have there is only so little we can do. Display the weather forecast, upcoming agenda items, voice control, gesture control, facial recognition in order to dynamically switch content per user, real-time traffic- and crypto and stocks …
Research fase
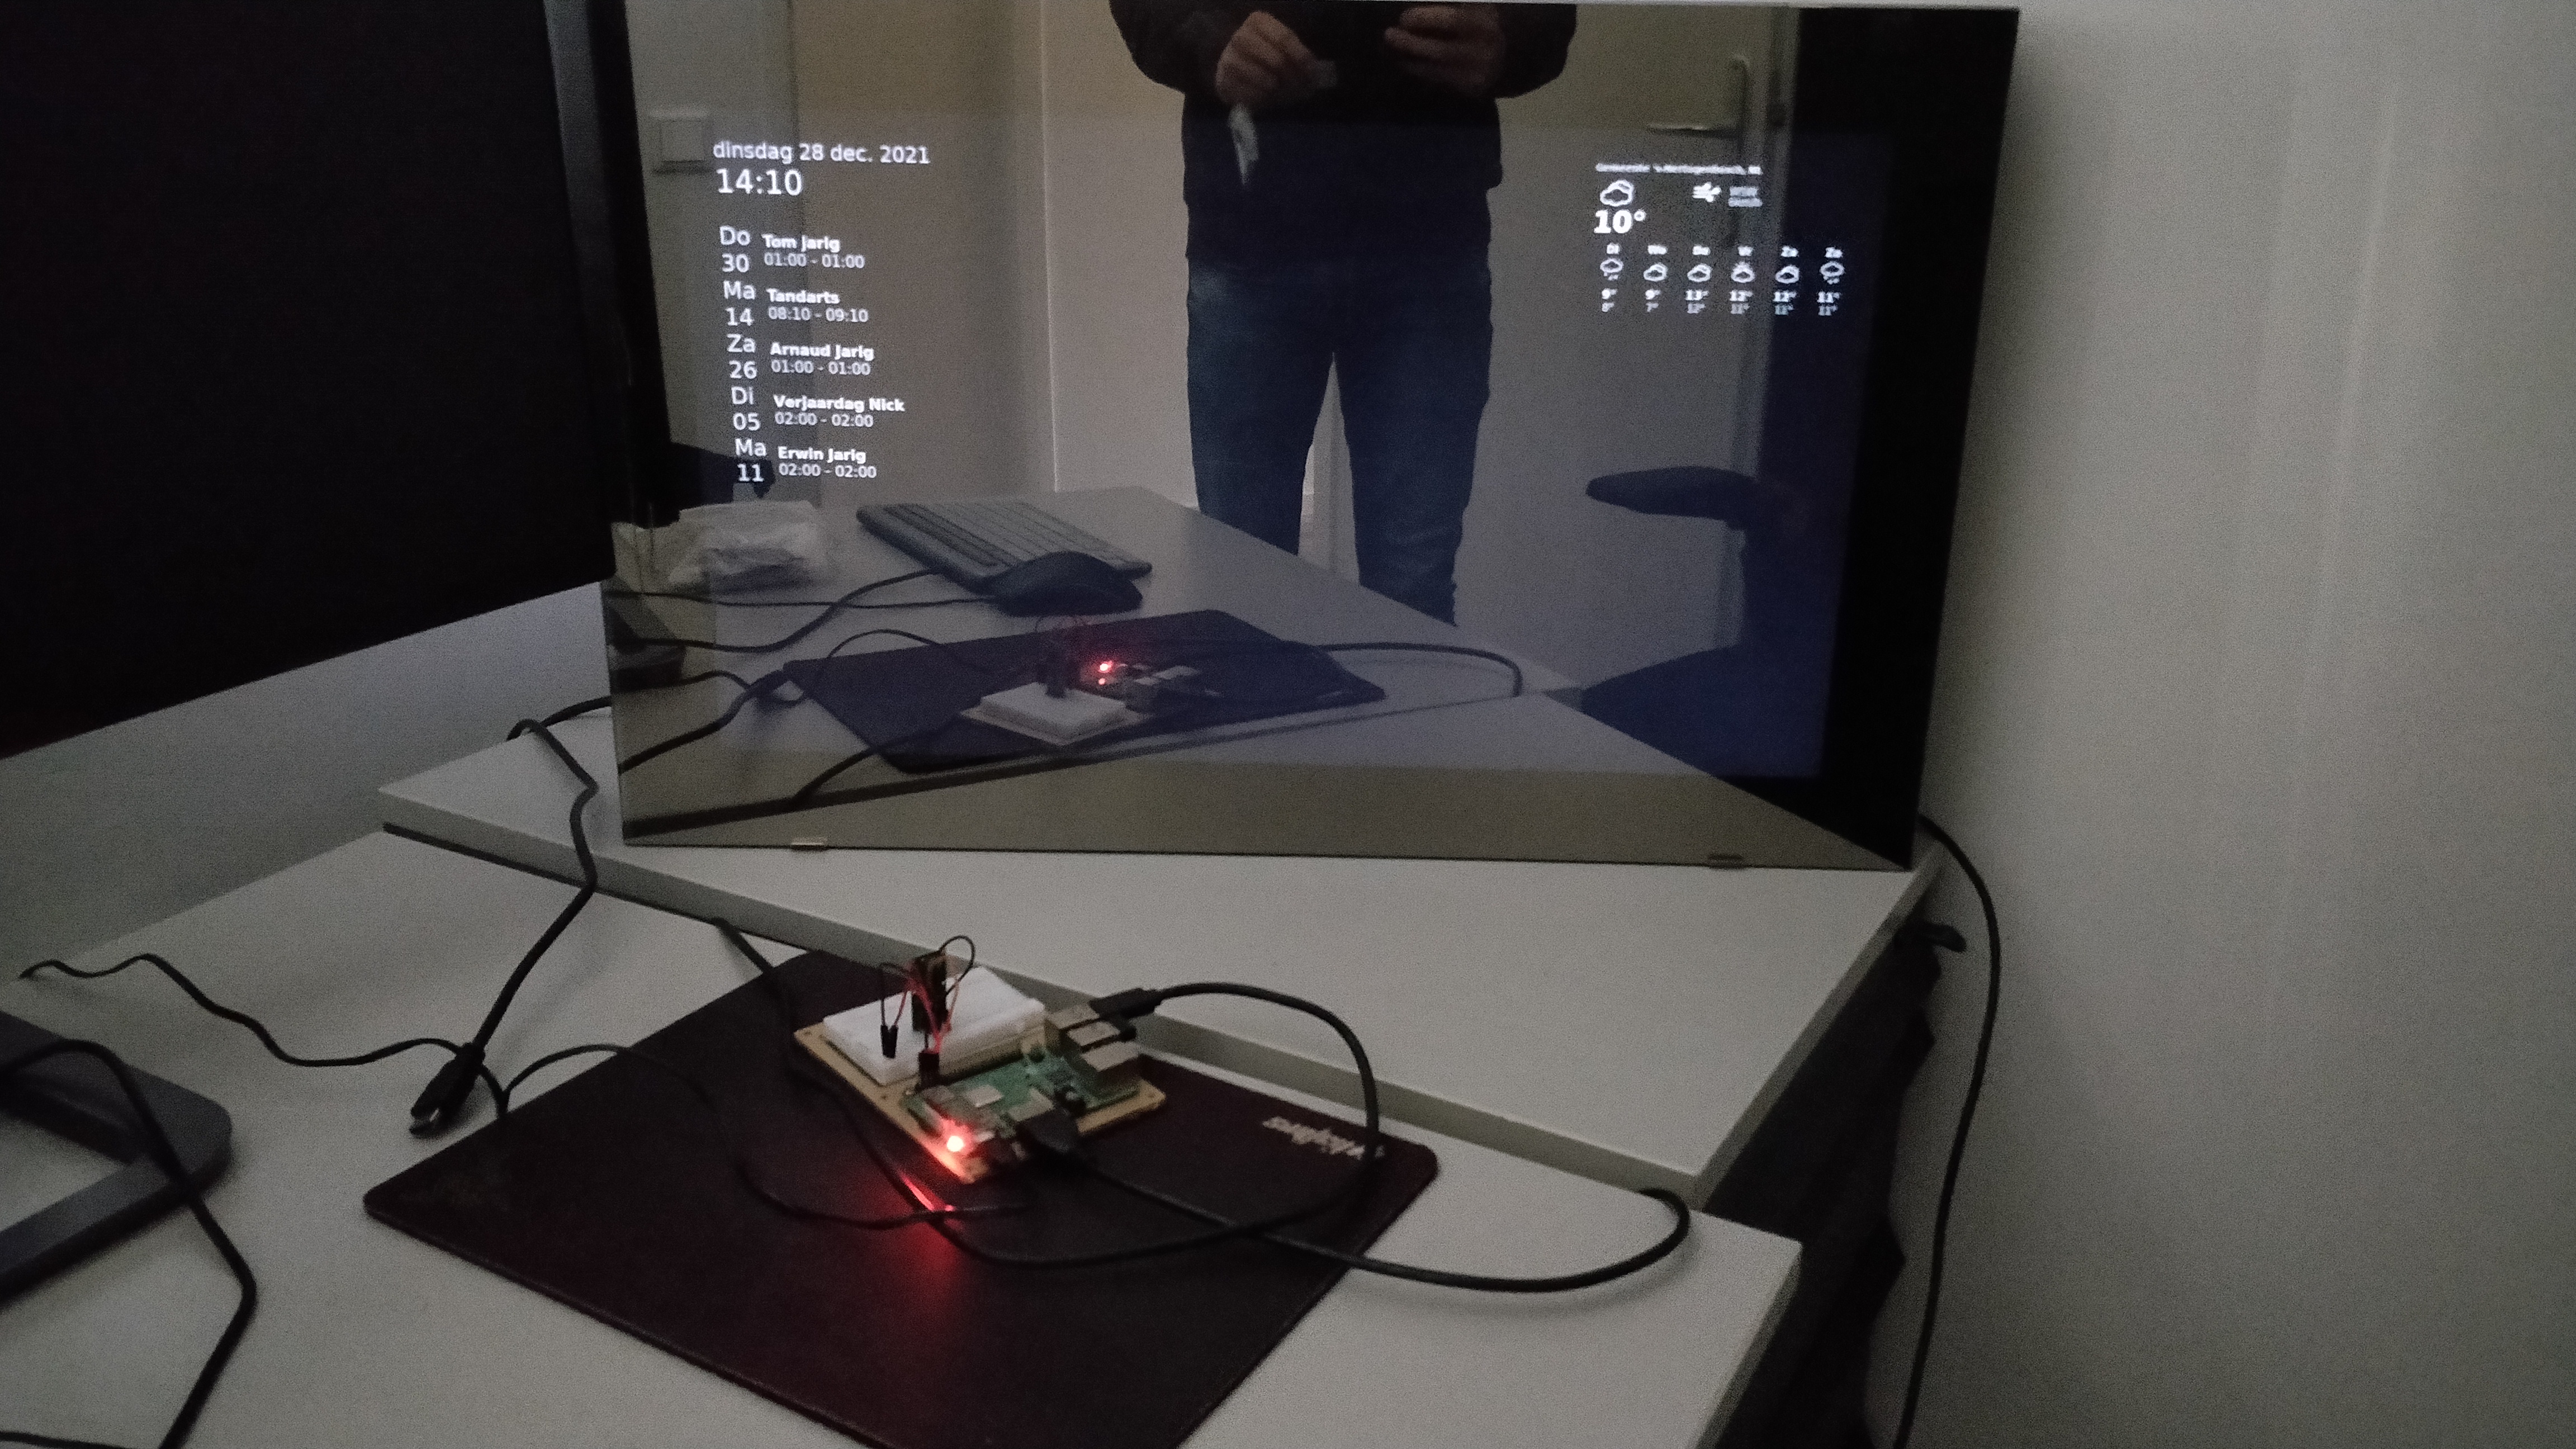
My first thoughts were to put the mirror in the bathroom, because this is where I would see the device every day. In the morning it could give me all the information for the day. That way I know if I can take my bike to work or on a rainy day the traffic information. My girlfriend and I both value our privacy and a few ideas required image processing. A bathroom and a camera don’t go well for us, so a few ideas needed to be taken off the list. Except for one particular idea, which I really wanted to implement. I wanted to have some form of motion or proximity sensing, since I only want the mirror to be on when standing in front of it. Using a camera for motion detection was of the table and infrared (IR) wouldn’t work, since most IR waves would be blocked by the glass mirror. Bluetooth (BLE) looked like a good alternative, but this required the users to always bring their smartphone close to the mirror. Perhaps another form or sound? While looking for solutions I stumbled upon the RCWL-0516, a doppler radar microwave motion sensor capable of detecting proximity within approximately a range of 5 meters distance.
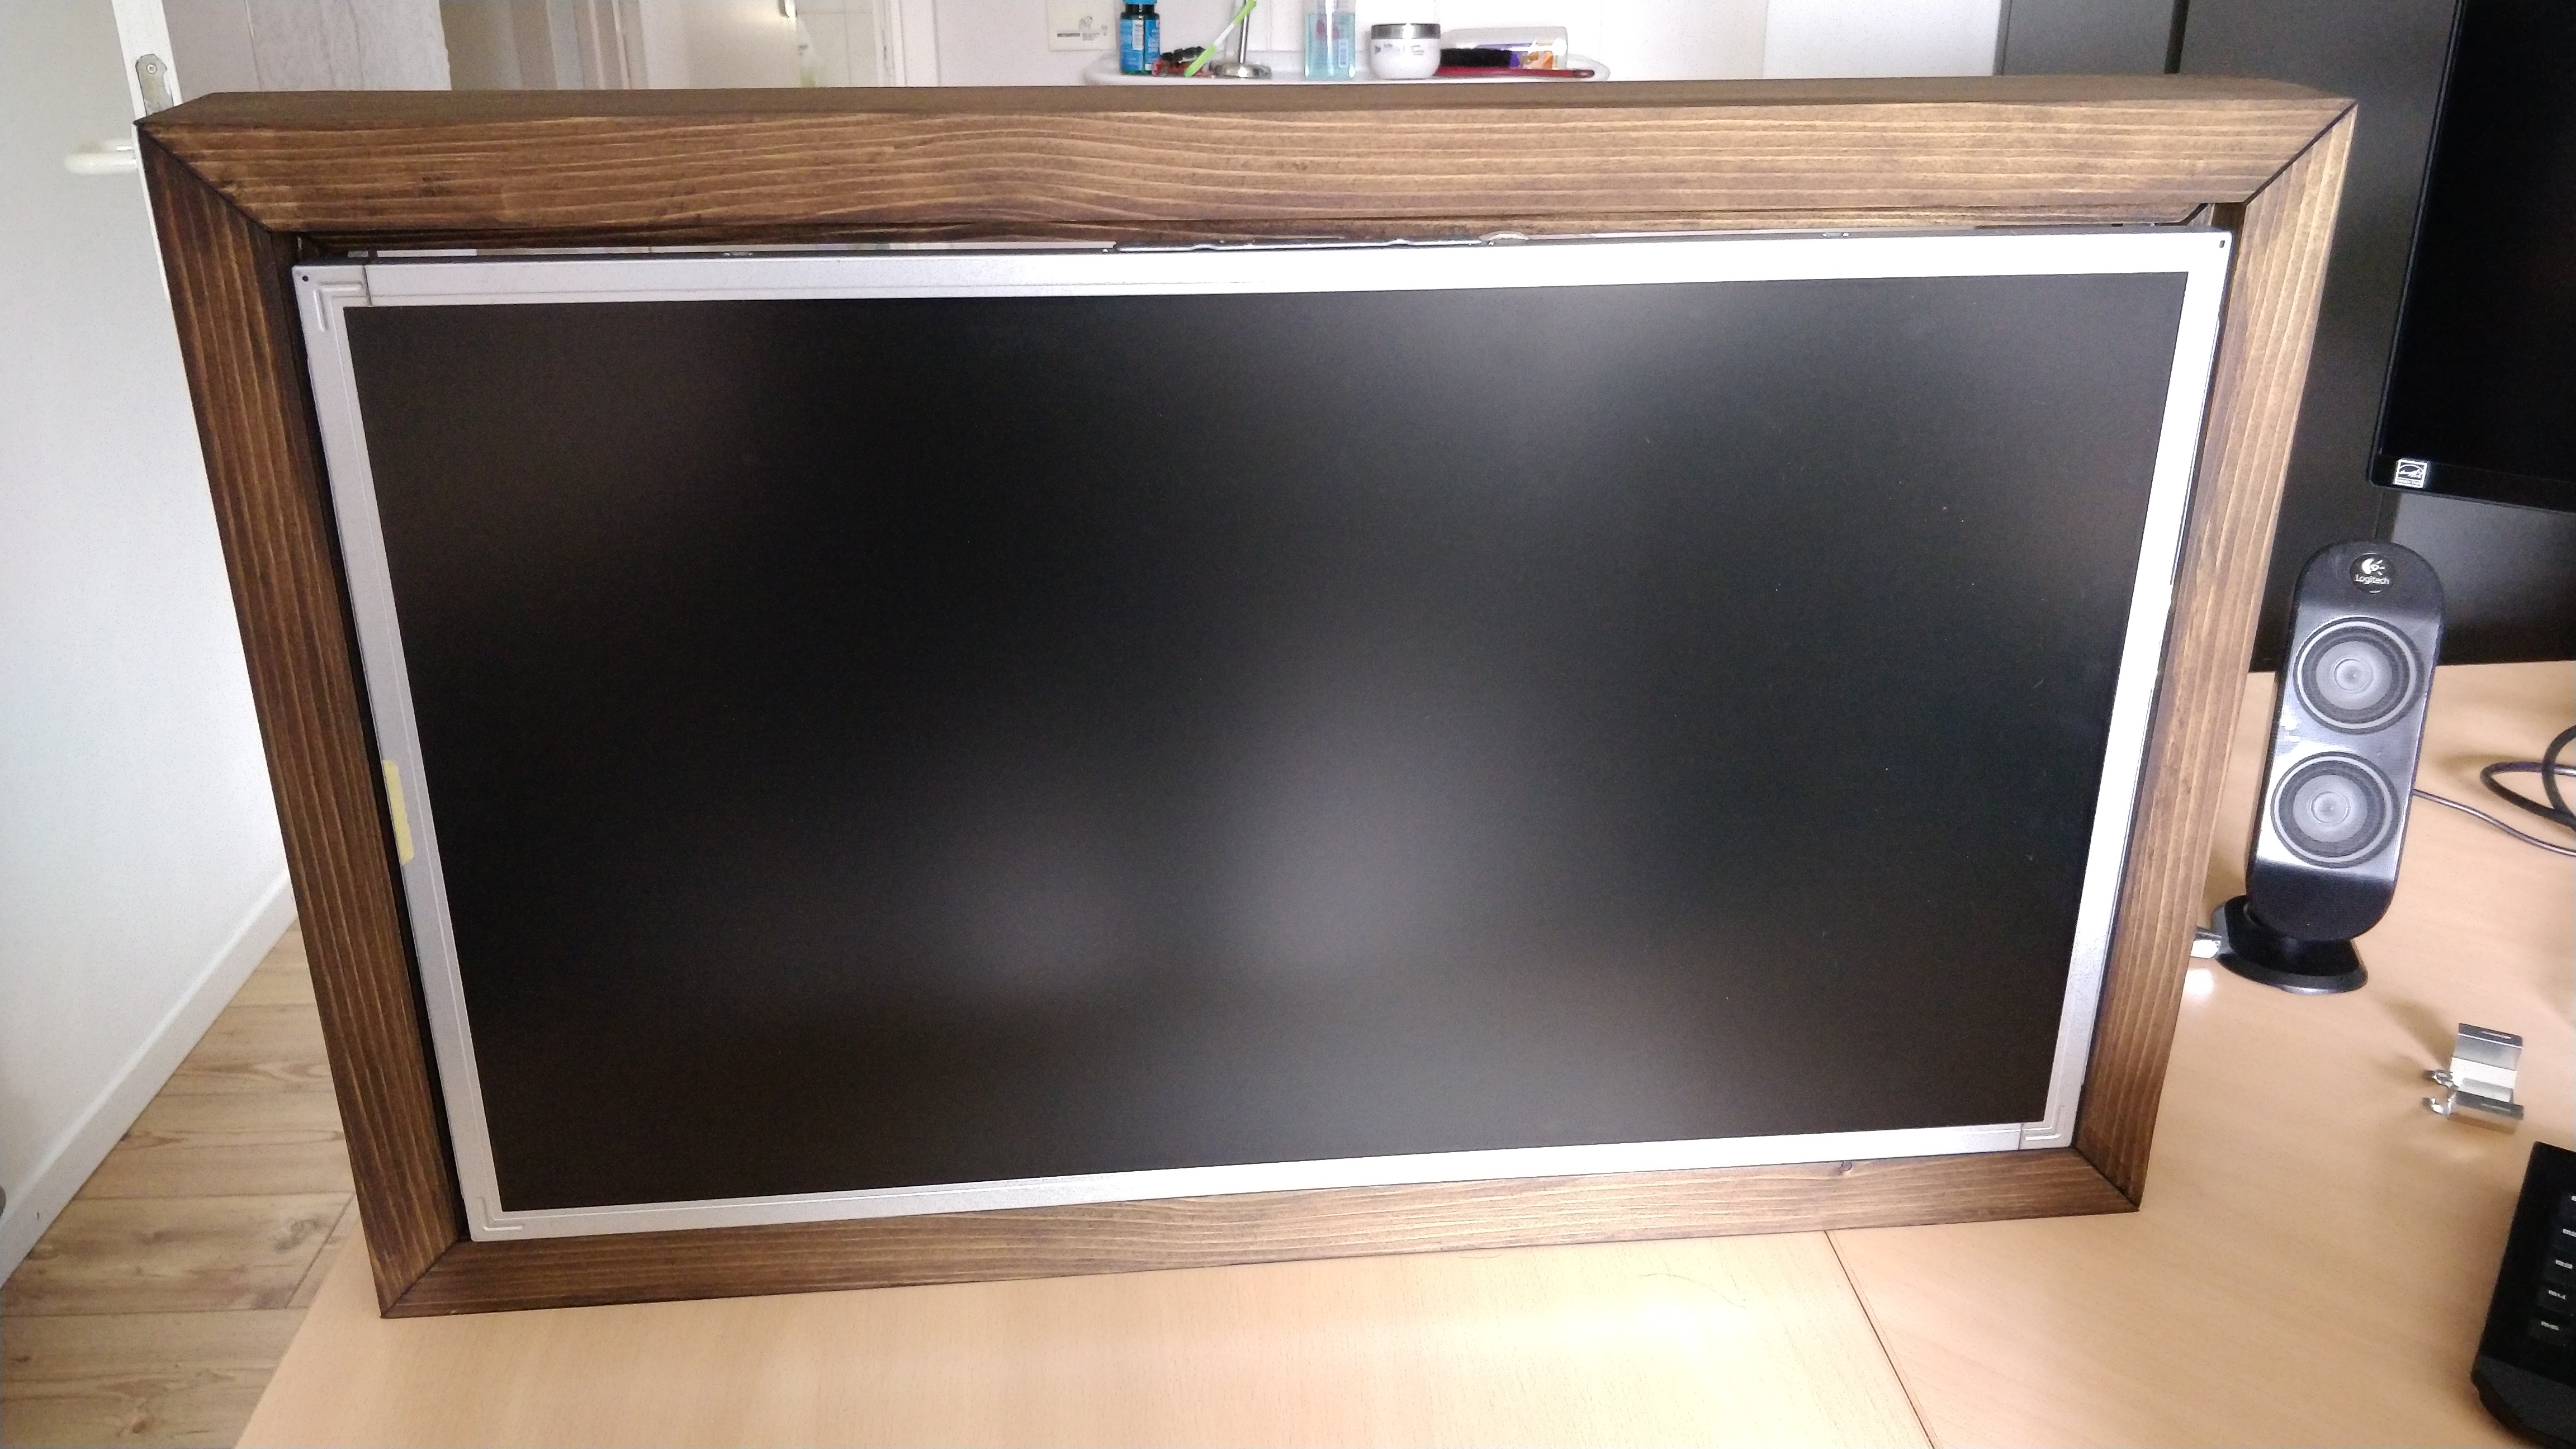
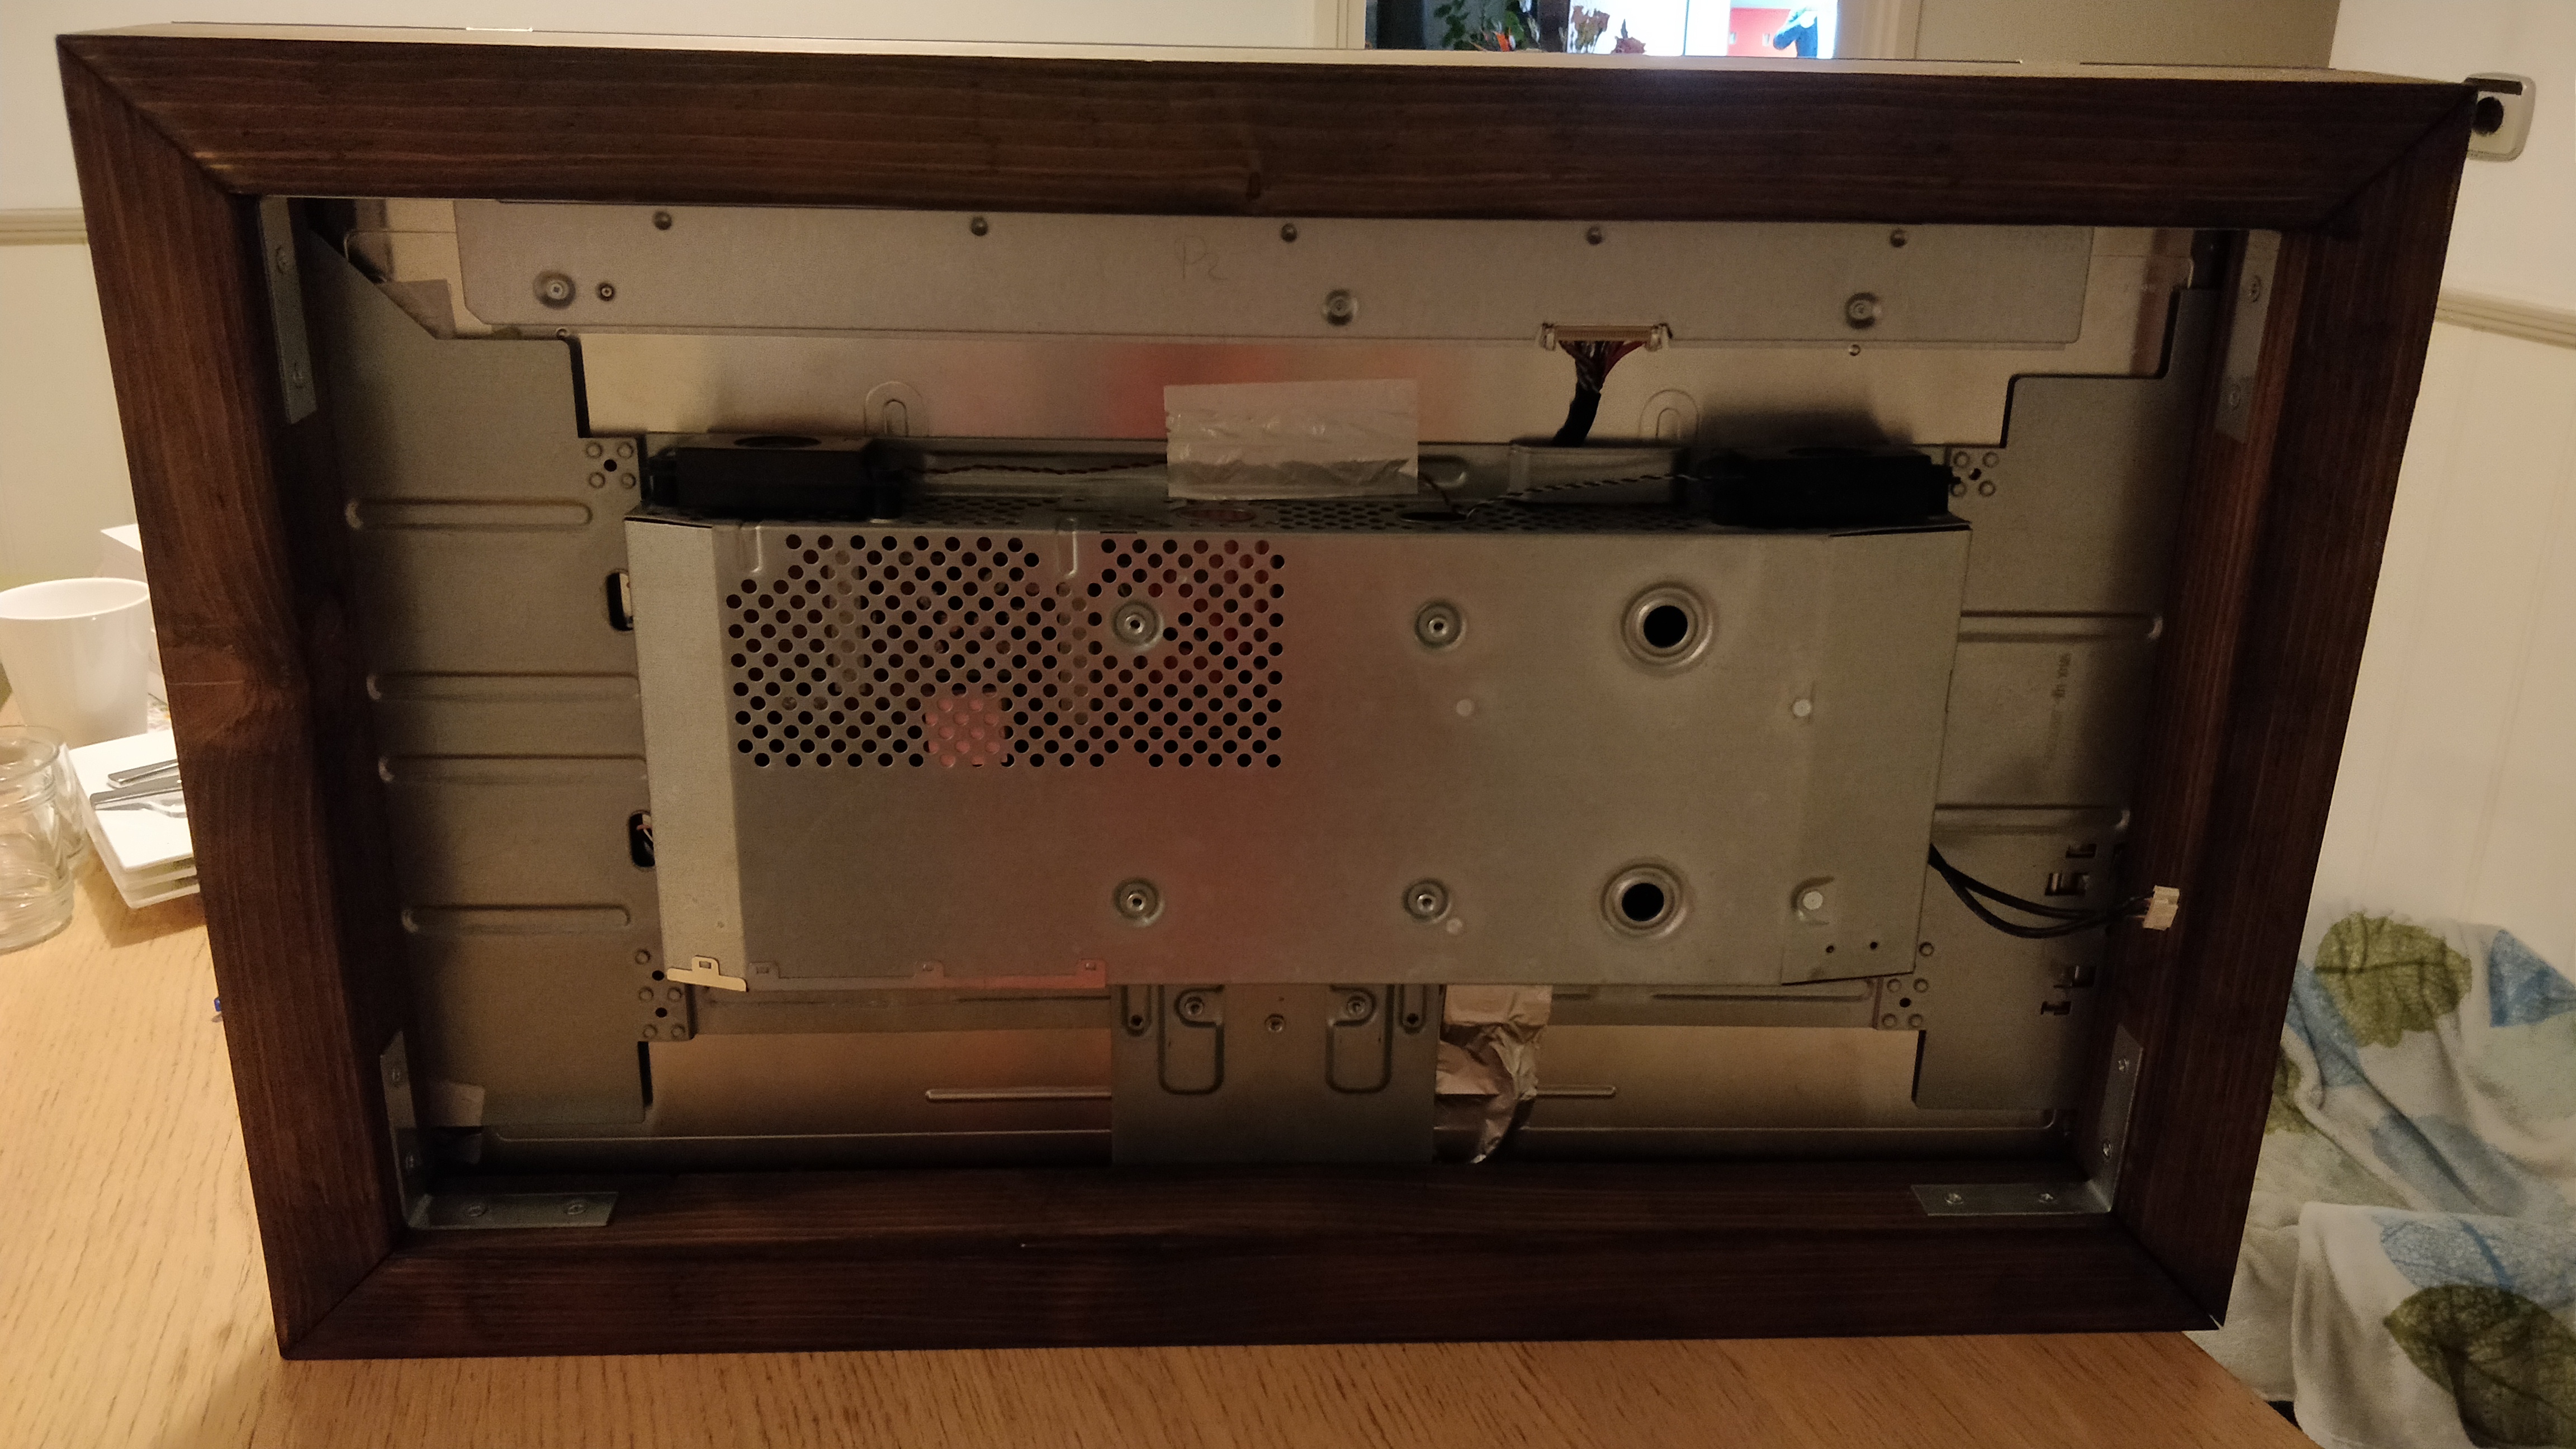
I imagined the mirrors’ frame to be build out of wood where the display would sink into the frame. This allows the glass to cover the entire front acting as a mirror. For the semi-transparent mirror look I choose to use a spy-mirror film over acrylic class, since it was much cheaper. A Raspberry Pi mounted at the back of the frame would run Mirrorm8 and control the display.
Development phase
After preparing drawings and double-checking the measurements I got help from a friendly neighbour, who had all the professional tools, to cut wood. I soft grinded the wood for a smooth finish and applied Polyvine verniswas to darken the wood, which gives the old-wood-looks.
While I was shopping at a hardware store I found these thin metal interlocking connectors, which are great to mount the mirror close on to the wall. Normally, such brackets are used to mount regular mirrors on the wall. To be able to use them for my mirror I drilled some holes through the brackets and mounted them at the back of the wooden frame with some philips screws.
23 April 2019 I started and developing the frontend using TypeScript and Nuxt.js, a based Vue.js frontend framework. Using DietPi as the Linux image allowed me to easily install dependencies, do backups and receive updates with minimal effort.
To reduce the software project scope, I decided to include only the following features:
- Display date and time
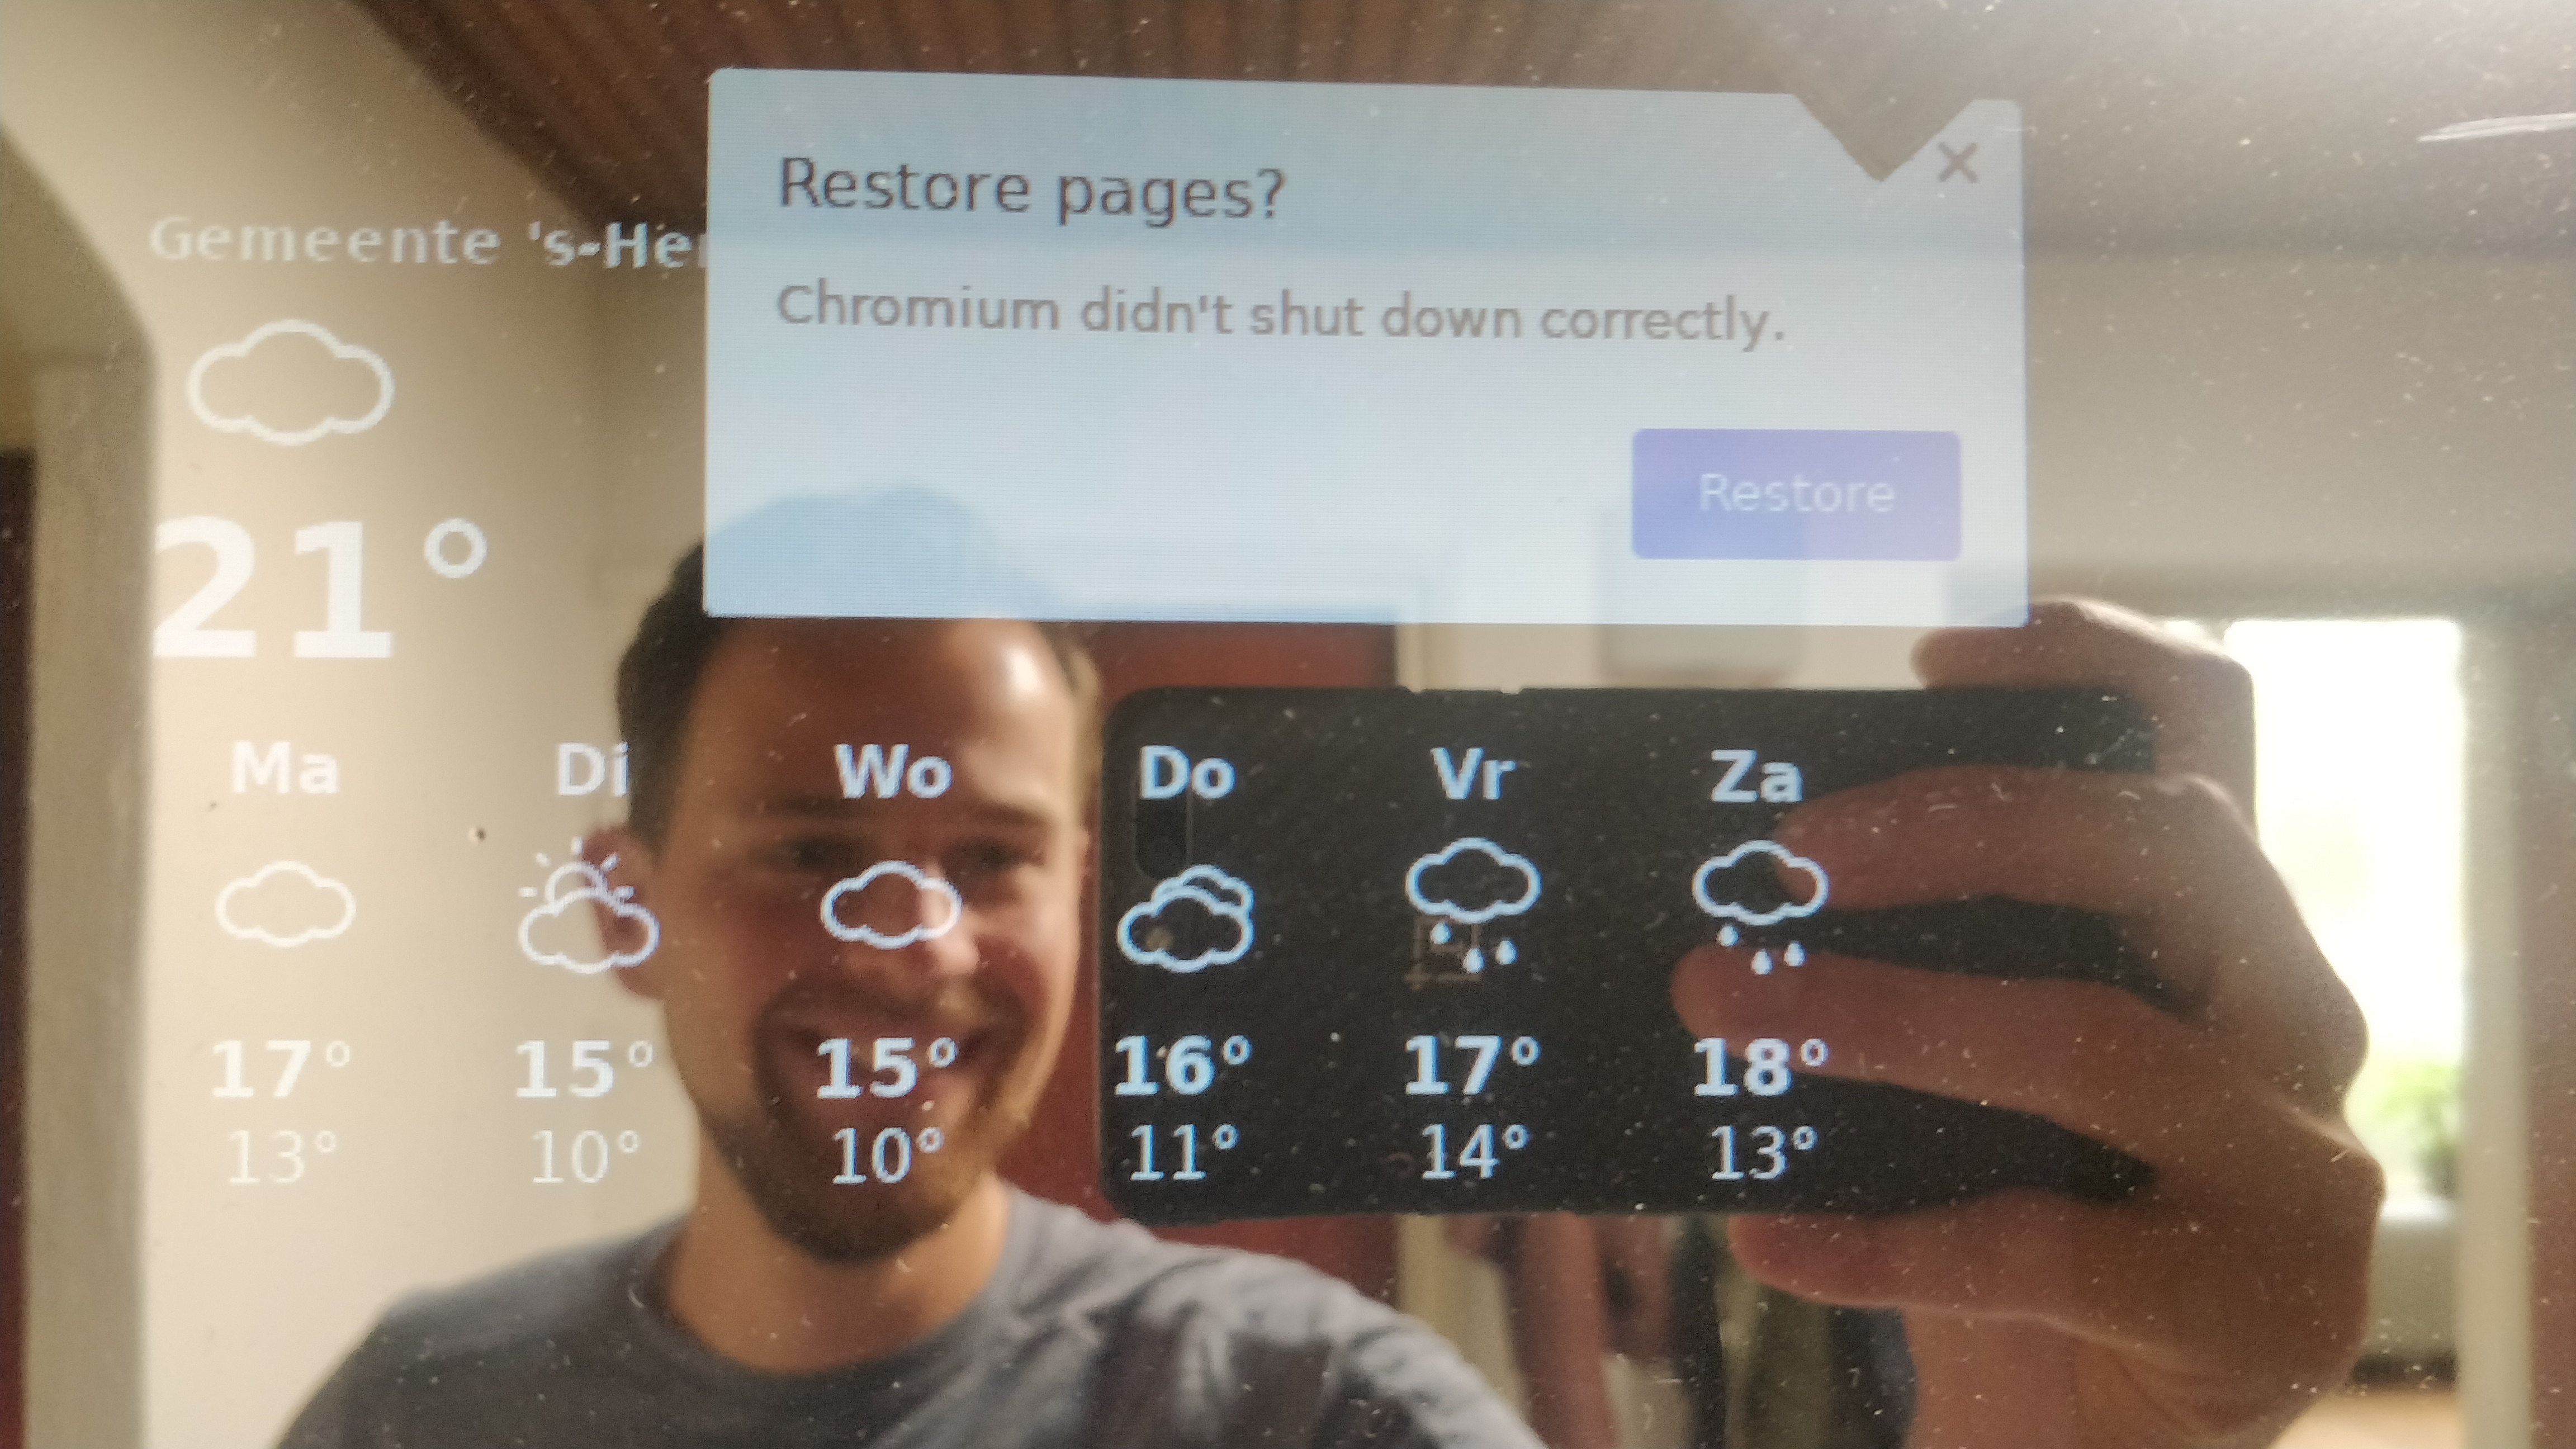
- Display the weather forecast
- Display upcoming Google Calandar items
- Dynamically turn on and off the monitor.
At the time Nuxt.js just recently introduced support for TypeScript, but it was a lacking documentation, examples and a stable API. It was a recipe for disaster really, but that wouldn’t stop me! The problem I faced at the time was that I wanted to integrate Socket.io with Nuxt.js in order to receive realtime updates from the backend to the frontend, but Nuxt didn’t allow me to extend the expressjs server middleware for an unknown reason. After spending countless hours, I decided to put the project on ice for a little while until the Nuxt.js TypeScript was more stable.
Just around the summer of August 2020, in my holidays, Nuxt.js released a stable version of @nuxt/typescript-runtime v1.0.0, allowing me to succesfully build the Mirrorm8 project with the desired serverMiddleware b019c94. Finally! I rapidly finished automatically updating the weather forecast, upcoming Google Calendar items, date time and turning on/off the display dynamically using the RCWL-0516 proximity sensor afterwards.
Validation phase
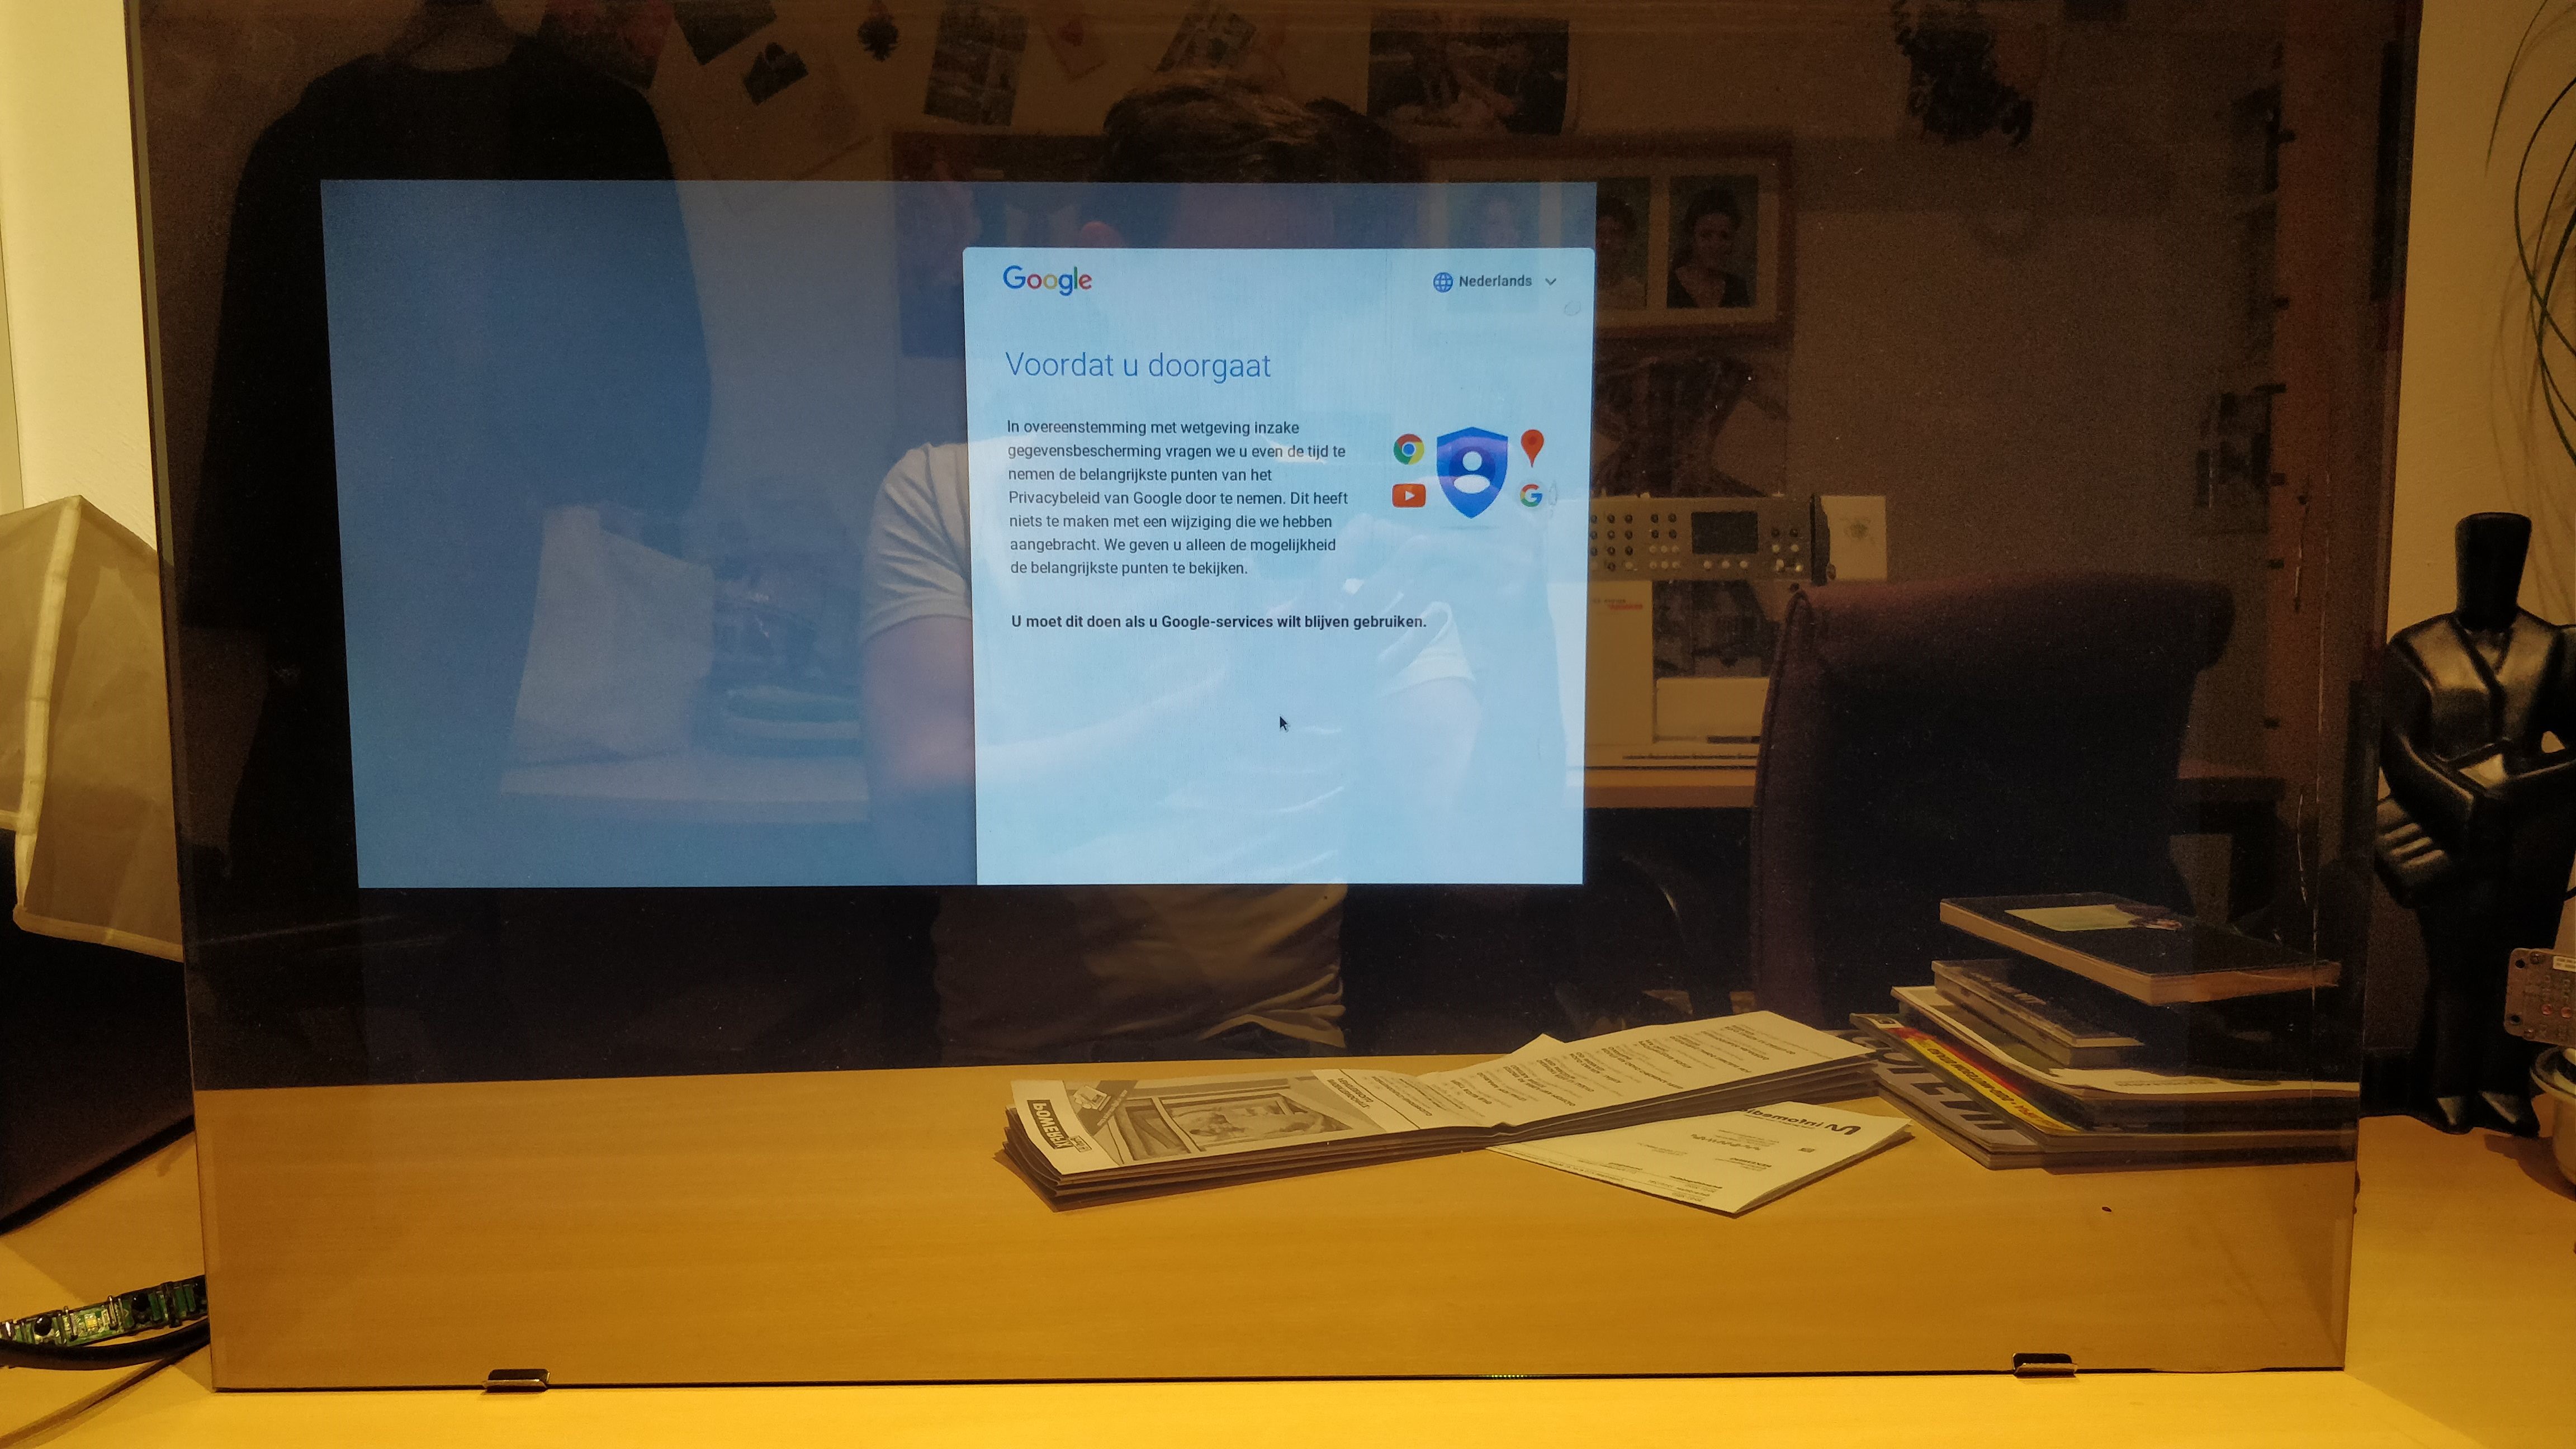
Most of the developement could be done on a regular working station, but because of the Proximity sensor few functions needed to be tested on the hardware. Because mirrorm8 uses native dependencies it was easiest to be build the project on the target itself. The iterations were slow, because each time building the project took about 15 minutes. Luckly all of these steps I automated. At boot DietPi automatically starts the mirrorm8 systemd service and loads the URL with Chromium in kiosk mode. Unfortunately, my calendar items were not showing when running Mirrorm8 on the Raspberri Pi. Though, this worked just find on my work station. It turns out that Google OAuth2 is unsupported in the open-source Chromium browser. To fix it I replaced Google OAuth2 with a Google API key instead.
Gallery

Bill of material
| Items | Cost |
|---|---|
| 28" TFT monitor | €70,00 |
| Glass | €20,00 |
| Glass Film | €12,00 |
| Wood | €15,00 |
| Raspberry pi 3 | €40,00 |
| RCWL-0516 | €3,31 |
| Breadboard | €4,50 |
| Glass clips | €2,00 |
| Sandisk Ultra Fit 4GB | €23,80 |
| ‘Blind’ mirror wall mount | €12,00 |
| Total | €202,61 |
Reflection
- Applying mirror foil is hard, because it leaves wrinkles. I recommend acrylic glass.
- I learned how to oil wood.
- Choosing new technology is risk full.
- Nuxt.js with TypeScript is great for productivity.
- vuex-class is great for separation of concerns.
- Google does not allow OAuth2 authentication from the open-source Chromium browser.
Say, I would need to do it all over I would separate the server-side logic from the client. For example, I would rather use the MQTT protocol to notify Mirrorm8, as a client, to receive messages and update the frontend with new data automatically.
Looking back, I really enjoyed doing this project and I hope you also liked to read about my journey.